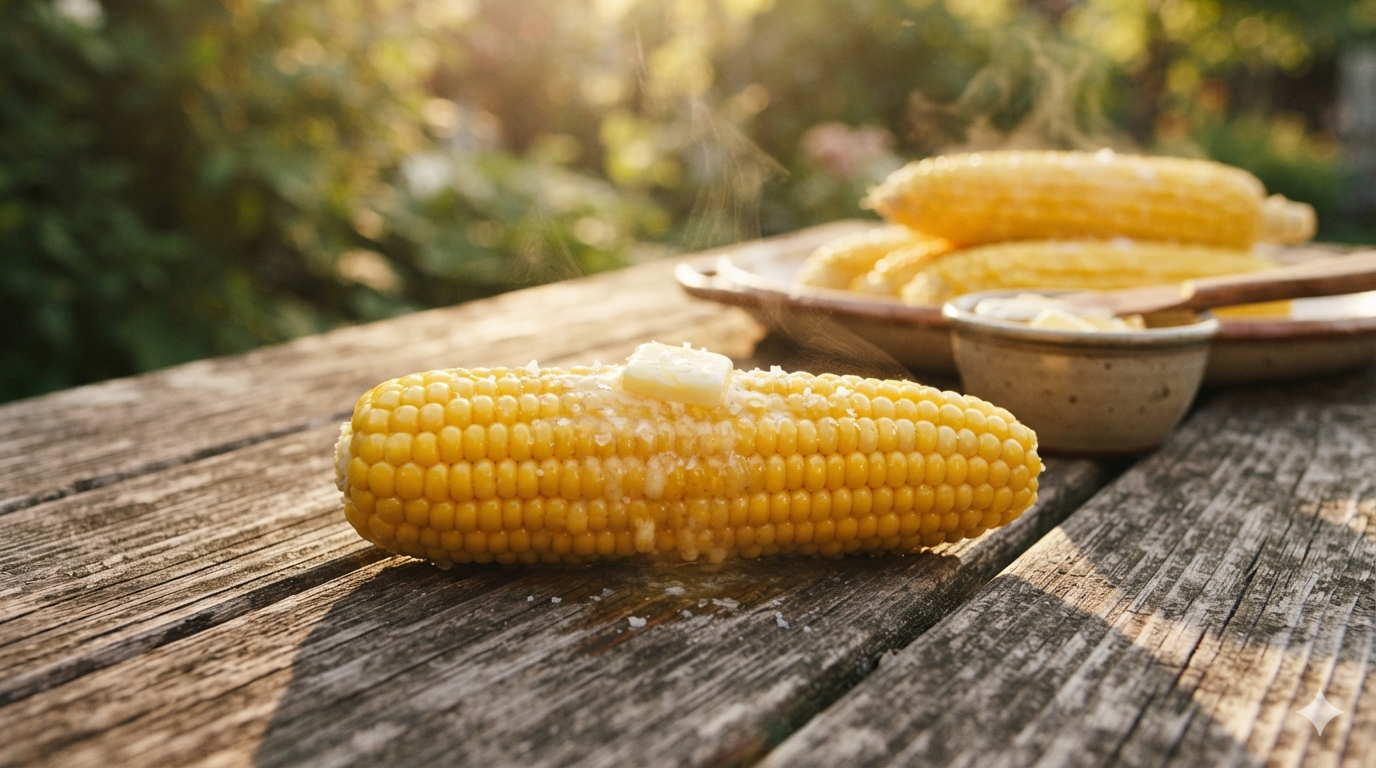
There is a specific kind of magic that belongs entirely to summer evenings. You know the ones—where the sun takes its sweet time setting. The fireflies are just starting to blink in the yard. Meanwhile, the wonderful smell of a home-cooked meal drifts through the screen door. For generations, nothing has captured the true essence of these warm months quite like a platter piled high with steaming, golden corn on the cob. Consequently, it remains a staple of backyard barbecues, Sunday family dinners, and quiet weeknight meals alike.
Sinking your teeth into a sweet, juicy ear of corn is an instant trip down memory lane. For instance, it brings back thoughts of childhood picnics and sticky fingers. It also reminds us of laughter shared around a crowded picnic table. While there are plenty of modern ways to cook this seasonal treat nowadays, good old-fashioned boiling remains the most reliable method available. In fact, it is wonderfully simple and comforting. It is a timeless classic for a reason.
In this friendly guide, we are going to walk through everything you need to know. First, we will cover how to spot the absolute best ears at your local farm stand. Next, we will discuss the precise timing to prevent mushiness. Finally, we will share some delightful topping ideas that your family will love. Therefore, grab a cold glass of iced tea, and let us talk about how to bring this simple summer joy to life in your kitchen.
—
Why the Simple Boiled Method Still Rules the Kitchen
With all the trendy cooking gadgets filling up our kitchen counters these days, it is easy to think we need something fancy. However, when it comes to sweet summer corn, the classic big pot of boiling water is still tough to beat. This method is incredibly forgiving and wonderfully straightforward. Additionally, it requires absolutely no special equipment. Therefore, if you have a deep pot, some water, and a few ears of fresh corn, you have everything required to create pure summer magic.
A Traditional Approach to Flavor
Boiling does something truly beautiful to corn. Specifically, it gently heats the kernels through and melts the natural sugars inside without drying them out. As a result, it locks in that vibrant, sun-kissed color. It also gives you a wonderfully consistent texture from the first bite to the last. For this reason, there is no need to worry about charred spots from a grill. Similarly, you will not have to deal with uneven cold patches from a microwave. Instead, it is just pure, unadulterated comfort food made exactly the way our parents used to make it.
Mastering the Perfect Texture
The secret to success lies entirely in understanding the timing. Once you master a few simple guidelines, you can easily avoid the two most common kitchen mishaps. First, you will avoid tough, crunchy, undercooked kernels that get stuck in your teeth. Second, you will prevent sad, overcooked, waterlogged mush that loses all its flavor. Fortunately, it is very easy to get it exactly right.
—
How to Spot the Freshest Corn at the Market
The journey to an incredible side dish always begins long before you turn on the stove. Naturally, it starts at the grocery store or your local farmers’ market. It might even happen at that roadside farm stand you love to pull over for on sunny afternoons. Because corn is at its peak sweetness right after it is harvested, choosing the right ears makes an enormous difference. Ultimately, it affects both the final flavor and the cooking time.
Evaluating the Outer Husk
When you are standing in front of a big crate of corn, use these time-tested tips to pick the prize winners. First, look for bright, happy green husks. The outer leaves should look healthy and vibrant. Furthermore, they should be tightly wrapped around the ear. If the husks look pale, yellowed, or dry and papery, the corn has likely been sitting on the shelf for too long. Therefore, give the ear a gentle squeeze. It should feel slightly damp and have a little bit of a squeak to it.
Inspecting the Silks and Kernels
Next, check the silk tassels sticking out of the top of the ear. Ideally, you want these tassels to be brown and sticky to the touch. On the other hand, if they are completely dried out, black, or brittle, the corn is past its prime. If they are pale green or white, the corn was likely picked too early. After checking the silks, take a tiny sneak peek at the kernels. You do not need to pull the whole husk down. Instead, gently peel back the very top inch of the husk. The kernels should look plump, shiny, and tightly packed together in nice, straight rows.
Feeling the Weight for Ultimate Juiciness
Finally, feel the weight of the ear in your hand. Pick up a few different ears and compare them carefully. A good, fresh ear of corn should feel surprisingly heavy for its size. That weight tells you that the kernels are completely full of sweet, natural juice. Conversely, light ears are often dry and starchy.
A Note on Timing: If you can manage it, try to buy your corn on the exact day you plan to cook it. The natural sugars in corn begin converting into starchy compounds almost immediately after being picked. Keeping it cool in your refrigerator helps slow this process down, but nothing beats the flavor of corn cooked fresh from the field!
—
How Long to Boil Corn on the Cob: The Golden Rules
Now, let us tackle the big question that brings everyone to the kitchen: exactly how long do you leave the corn in the water? If you ask five different home cooks, you might get five different answers. Of course, that is because the absolute best boiling time depends on how fresh and how large your corn happens to be.
Here is a reliable, easy-to-follow breakdown that works beautifully for different types of ears:
| Type of Corn | Recommended Boiling Time | What to Look For |
|---|---|---|
| Freshly Picked Sweet Summer Corn | 4 to 6 minutes | Tender, crisp kernels with a bright, beautiful yellow or white color. |
| Standard Grocery Store Corn (A Few Days Old) | 6 to 8 minutes | Slightly firmer kernels that need just a minute or two longer to soften up beautifully. |
| Larger, Starchy, or Older Ears | 8 to 10 minutes | Heartier kernels that require a bit of patience to become tender and easy to bite. |
Why does the timing vary so much? Freshly picked corn has incredibly tender skin and a very high moisture content. Consequently, it needs very little time in the heat to become delicious. As corn ages, the skins of the kernels coarsen and the sugars change. For this reason, older corn requires a slightly longer bath in the boiling water to soften up. However, be careful not to cross the 10-minute mark! Overboiling causes the cells to break down, leaving you with a bland, chewy texture.
The Great Kitchen Debate: To Salt or Not to Salt?
Many of us grew up watching our parents toss a handful of salt into the boiling pot. However, modern culinary wisdom suggests keeping the salt out of the water entirely. This is because salt can actually toughen the delicate skins of the kernels while they cook. Therefore, leave the water completely plain. You can save the salt for the grand finale when the hot corn is ready to be buttered. If you really want to enhance the water, a tiny pinch of sugar can help boost the natural sweetness of older ears. Otherwise, fresh corn truly needs nothing at all.
—
Step-by-Step: Boiling Your Corn to Perfection
Cooking should always be a relaxing, enjoyable experience. For this reason, follow these simple steps to ensure a stress-free process and wonderful results every single time.
Step 1: Husk and De-Silk with Care
Start by peeling away the green outer husks. Simply pull them downward toward the base of the ear and snap them off. Next, use your fingers to rub away as many of the fine, hair-like silks as you can. A wonderful trick for getting those stubborn leftover strands is to use a clean, damp paper towel. Alternatively, you can use a soft kitchen brush to gently wipe down the ear from top to bottom. Afterwards, give the shucked corn a quick rinse under cold running water.
Step 2: Ready the Pot
Choose a large, deep stockpot that gives your corn plenty of room to swim around. Fill it with enough water so that the ears will be completely submerged once added. Usually, this means using about four to five quarts of water for a standard batch. Next, put the lid on and bring the water to a full, rolling boil over high heat. You want to see big, active bubbles before introducing the corn.
Step 3: Add the Corn Gently
Using a pair of long kitchen tongs, carefully lower each ear of corn into the bubbling water one by one. Be mindful not to drop them in too quickly so you can avoid splashing hot water. If you are cooking for a huge crowd, it is much better to cook the corn in comfortable batches. Crowding the pot can drop the water temperature too low and mess up your timing. Therefore, patience is key here.
Step 4: Keep an Eye on the Clock
Once all the corn is in, the water might stop boiling for a brief moment. Therefore, leave the heat on high until the water returns to a gentle, steady boil. Then, you can start your timer. Adjust the heat to medium-high to keep that nice boil going without letting it boil over. Set your clock for 4 to 6 minutes for fresh corn, or up to 8 minutes if the ears are on the larger side.
Step 5: The Tenderness Test
If you want to be absolutely certain it is ready, use your tongs to lift one ear out of the pot. Gently press a single kernel with the tip of a sharp paring knife. You could also use the prongs of a fork. It should pierce easily and release a tiny burst of milky juice. Most importantly, it should feel nicely tender to the touch.
Step 6: Remove and Serve Warm
Carefully lift the ears out of the pot with your tongs. Then, place them on a large, warm serving platter. Let them rest for just a minute or two. This brief pause allows the intense surface steam to clear. Consequently, the corn becomes safe to handle while remaining wonderfully hot and ready for toppings.
Hosting a Gathering? If you are serving a big family meal, you might need to keep the corn warm while finishing up the rest of the dinner. To do this, simply turn off the burner completely. Leave the corn right inside the hot water with the pot lid pulled slightly ajar. It will stay warm and delicious for about 10 to 15 minutes without overcooking. Any longer than that, and it will begin to lose its wonderful texture, so try to time it close to your main course!
—
Delightful Topping Ideas to Try Beyond Just Butter
There is absolutely nothing wrong with sticking to the classics. For example, a generous swipe of real, creamy butter melting down the sides of a hot ear of corn is wonderful. Finished with a sprinkle of flaky sea salt, it is a culinary masterpiece all on its own. In short, it tastes like childhood, tradition, and summer combined. However, if you are feeling a bit adventurous, you can surprise your guests at the next family dinner with a few creative twists.
Herbs and Fresh Flavors
First, you can try the herb garden blend. Soften a stick of unsalted butter on the counter. Then, stir in a tablespoon of finely chopped fresh herbs from the garden. Parsley, chives, and a little bit of basil work beautifully. Add a small pinch of garlic powder and black pepper. Afterwards, slather this over the hot corn for an elegant, fragrant twist.
International Twists for Your Table
Second, consider making Mexican street corn style, also known as elote. For this option, brush the cooked corn with a light layer of mayonnaise or sour cream. Next, sprinkle a generous amount of crumbled cotija or feta cheese over the top. Add a tiny dust of mild chili powder, and serve with a fresh lime wedge for squeezing. Because of this wonderful combination of creamy and tangy flavors, it is always a massive hit!
Third, you can try the Italian bistro style. While the corn is steaming hot, roll it in a little bit of extra virgin olive oil or melted butter. Then, coat it completely with finely grated Parmesan cheese and a touch of garlic salt. Consequently, it feels sophisticated yet remains completely comforting.
Finally, consider the sweet and smoky balance. If you enjoy a touch of contrast, lightly brush your corn with a tiny bit of melted butter mixed with a drop of honey. You can also use pure maple syrup. Finish it off with a very light dusting of smoked paprika. The smoky sweetness accentuates the natural flavors of the corn beautifully.
—
Smart Ways to Use Up Summer Leftovers
On the off chance that you end up with a few extra ears of boiled corn at the end of the evening, do not let them go to waste! Fortunately, leftover corn keeps beautifully in the refrigerator for up to three to four days. Just make sure to store it in an airtight container. Instead of reheating the whole cob, which can make the kernels a bit rubbery, use a sharp knife to carefully slice the kernels off the cob. Then, you can use them in morning scrambles, fresh lunches, or hearty dinners.
Creative Leftover Recipes
Cut corn kernels add a wonderful, sweet crunch to a simple black bean and tomato salad. You can dress it with lime juice and olive oil for a quick side dish. Additionally, you can toss them into a comforting pot of potato chowder. They also work wonderfully when folded into a batch of homemade cornbread batter or a quick evening stir-fry. Therefore, it is a fantastic way to stretch your grocery budget and bring a little bit of that sweet summer sunshine into your meals later in the week.
—
Savoring the Moments That Matter
At the end of the day, boiling corn on the cob is about so much more than just following a recipe. Rather, it is about slowing down and gathering the people we care about most around a shared table. It allows us to enjoy the simple blessings of the season together. Furthermore, it reminds us that some of the best things in life do not require complicated techniques or hours of stressful preparation.
Sometimes, all it takes is a pot of boiling water, a little bit of patience, and a basket of fresh, sweet corn to create memories that linger long after the season fades. Therefore, the next time you see those beautiful green husks piled high at your favorite market stall, bring home a few extra ears for the family. Fire up the stove, get that water bubbling, and enjoy every single delicious bite. Happy cooking, and remember to pass the butter down the table!
Important Note:
This article is written for entertainment and general informational purposes only. The stories, ideas, and information shared here are meant to be interesting, thought-provoking, or enjoyable to read.
Nothing in this article should be considered professional advice of any kind — whether medical, legal, financial, psychological, or otherwise. The content on this blog is not a substitute for consulting with qualified professionals.
Always do your own research and speak with a trusted expert before making any important decisions in your life. The author and publisher of this blog are not responsible or liable for any actions you take (or do not take) based on the information in this article.
Information and stories may be based on personal experiences, public sources, or creative interpretation. While we aim to share content that is accurate and respectful, we cannot guarantee that everything will be completely up to date or suitable for every reader’s situation.
By continuing to read this blog, you understand and agree that this content is for entertainment only.
Leave a Reply